🖥Windows Deployment
Deploying Microi Low Code Platform in Windows Server Environment
📦Environmental Installation
1️⃣Installation. NET runtime environment
Download and install the Hosting Bundle and ASP. NET Core Runtime 9.x x64These 2 files:
download address

two️⃣Download Web Deploy
- Download address: https://www.iis.net/downloads/microsoft/web-deploy
- Select [Typical Installation] when installing
- It is recommended to check whether the IIS module has
AspNetCoreModuleV2Module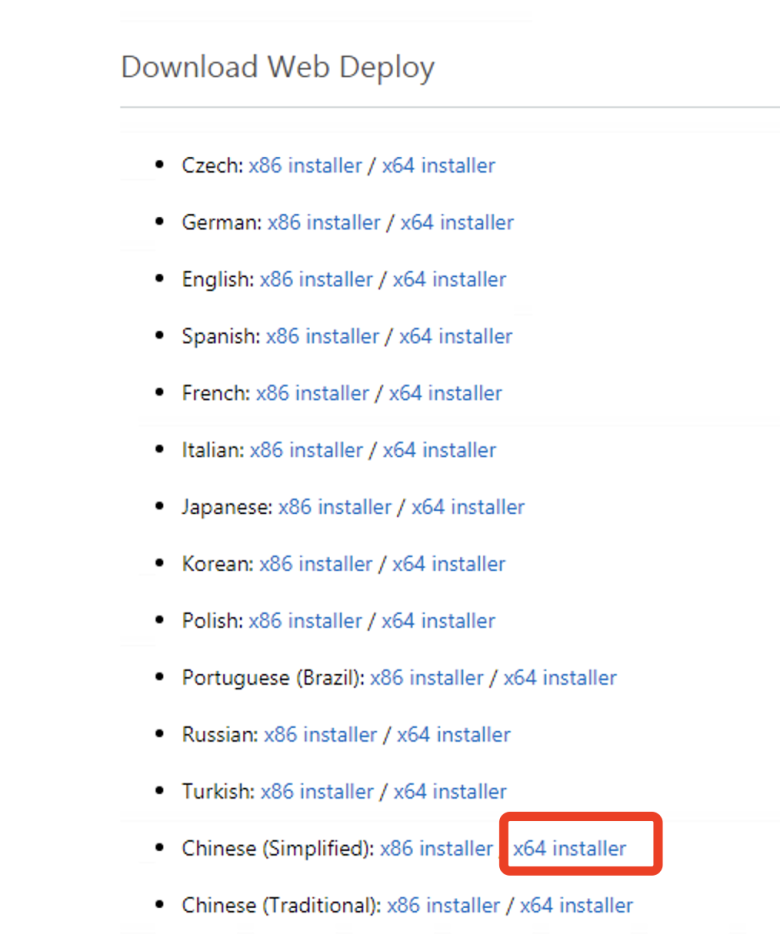
Service Check
Ensure that the following two services are in the [Running] state and the startup type is configured as [Automatic] (some Windows Server 2016 can be skipped). If a service startup error is encountered, it is recommended to restart the server operating system.

three️⃣Install IIS
This step is the basic operation, can be Baidu search.
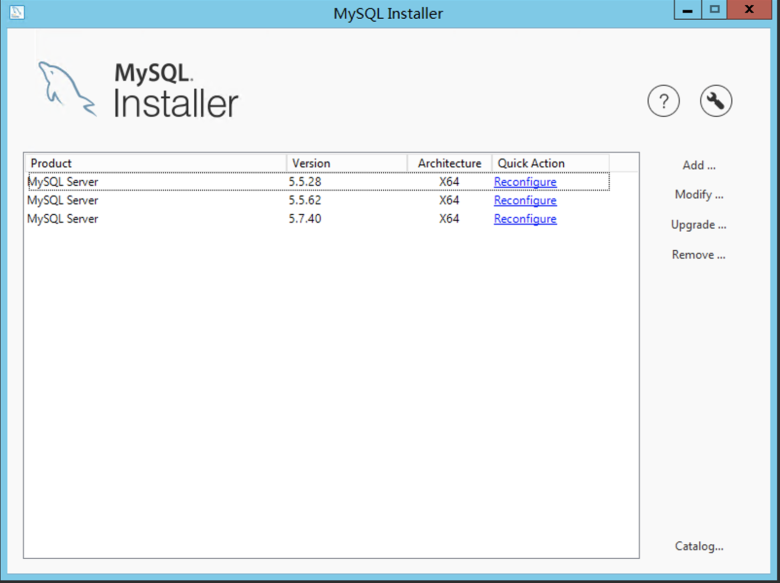
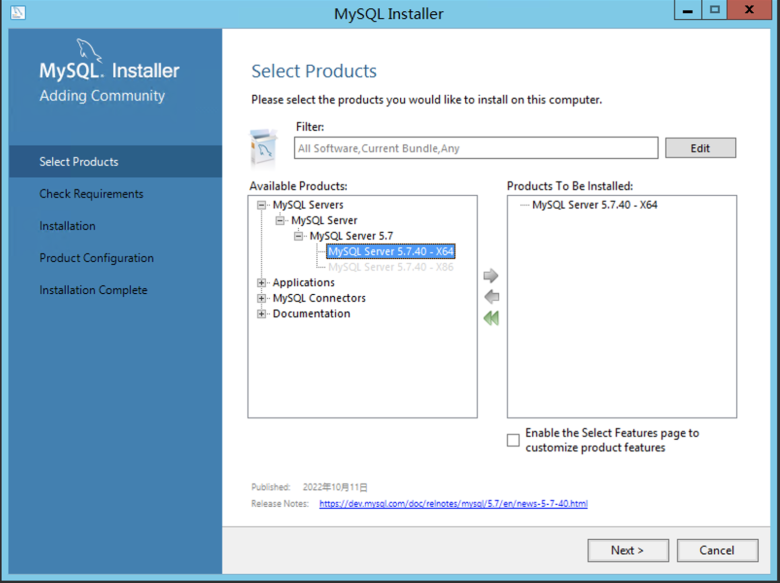
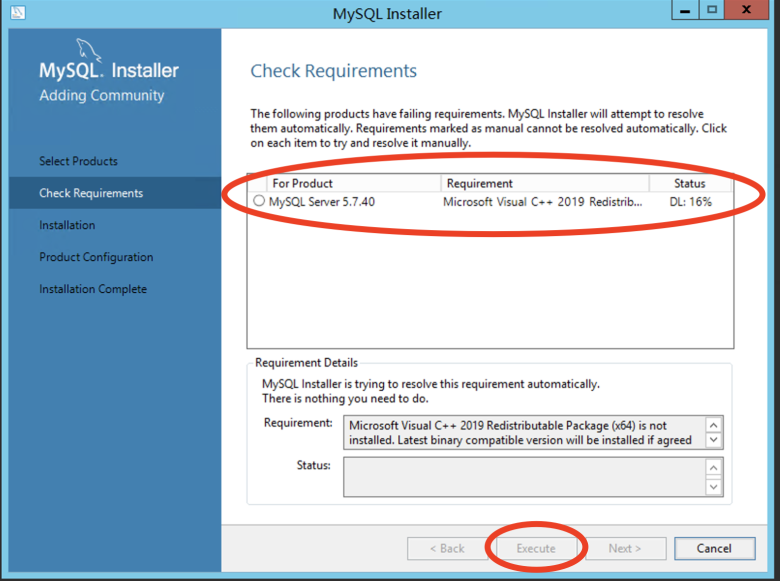
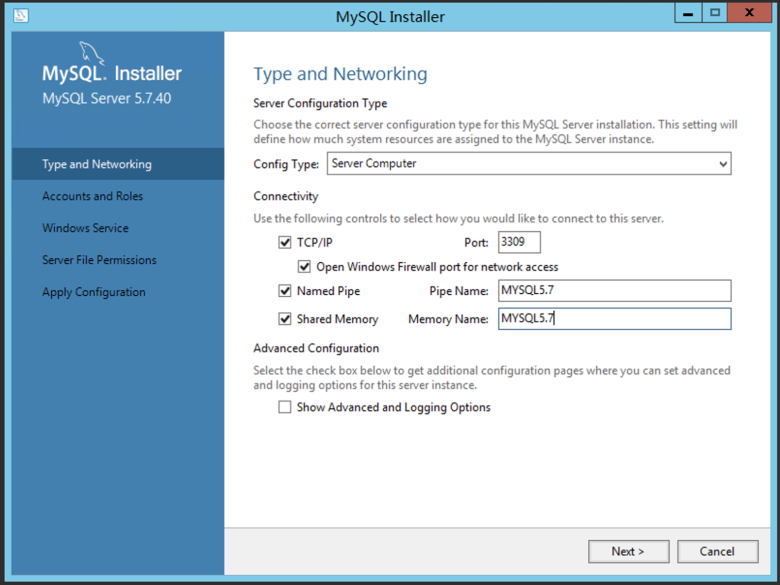
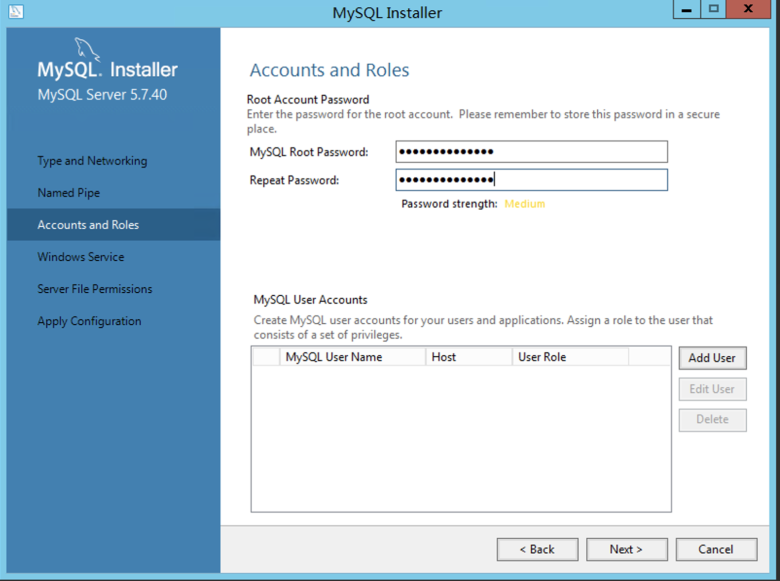
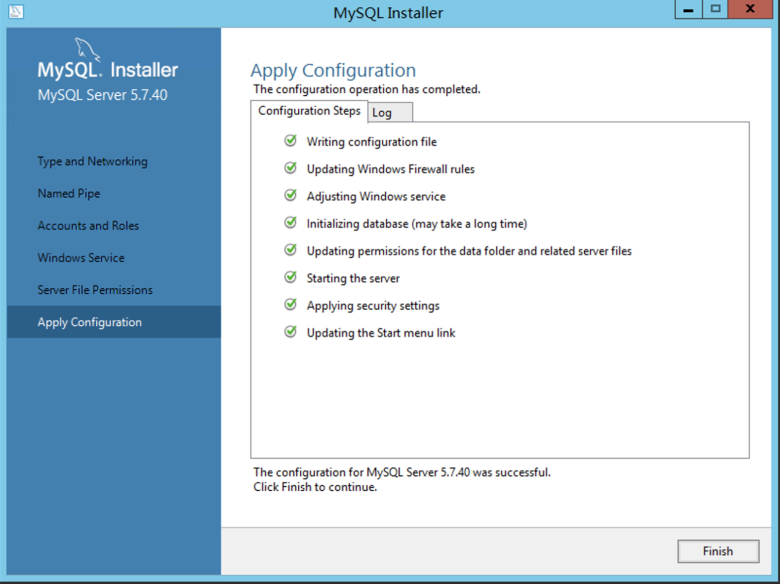
four️⃣Install MySQL database
| Project | Explanation |
|---|---|
| Supported versions | MySQL 5.5 / 5.6 / 5.7 / 8.0 |
| Official 5.7 Download | https://dev.mysql.com/downloads/file/?id=514047 |
| Installation Type | Select Server only |
| Screenshot of the installation steps (the interface of the installation package downloaded at different times may be slightly different): |
Click [Add] on the right]:

 Post-installation configuration:
a) Release the MySQL port in the firewall
B) Allow MySQL remote connection:
# 进入 MySQL 命令行
mysql -uroot -p密码 -P端口
# 执行以下命令
use mysql;
update user set host='%' where user ='root';
FLUSH PRIVILEGES;
GRANT ALL PRIVILEGES ON *.* TO 'root'@'%' WITH GRANT OPTION;C) use Navicat to connect to MySQL, create a database (code usingutf8mb4/utf8mb4_general_ci), restore database
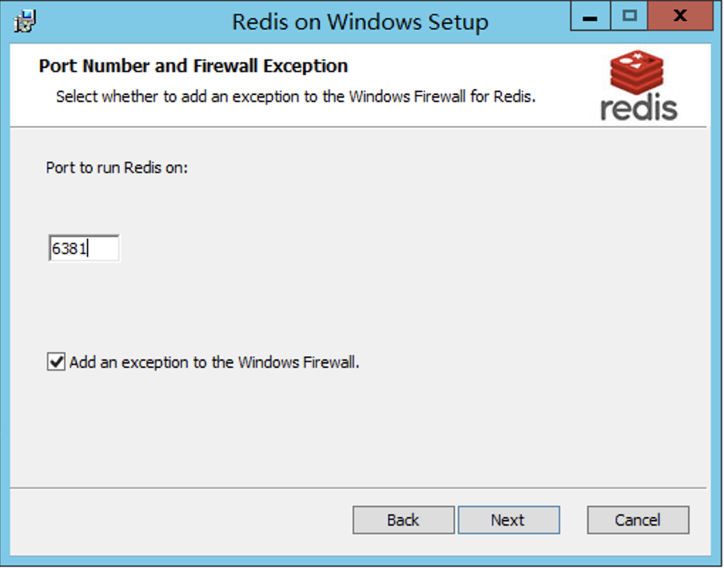
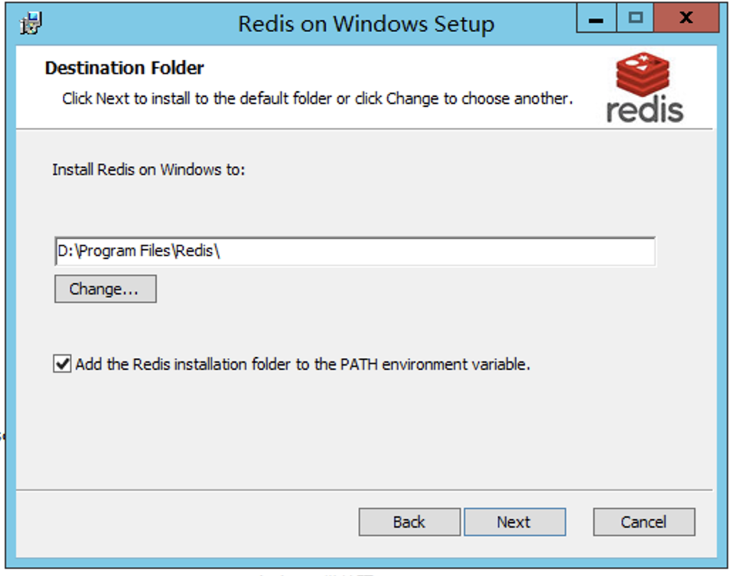
5️⃣Install Redis Cache
| Project | Explanation |
|---|---|
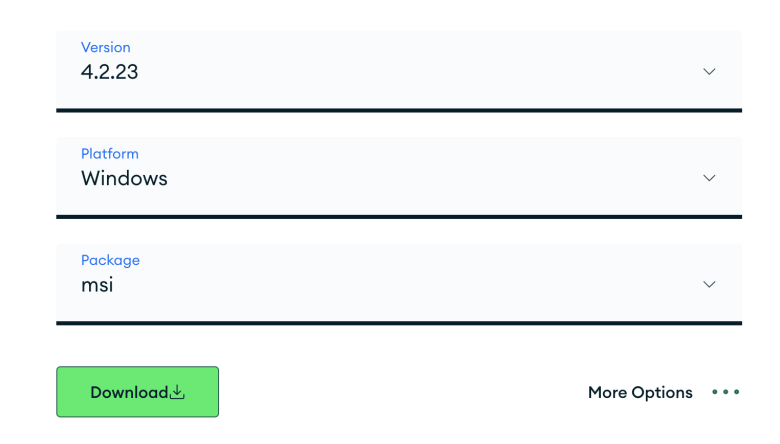
| GitHub Download | https://github.com/microsoftarchive/redis/releases |
| iTdos mirror | https://static.itdos.com/soft/redis-x64-3.0.504.msi |
| Screenshot of installation steps: |
Post-Installation Configuration:
Edit the installation directoryredis.windows-service.conf:
- Allow remote connections:Add 'bind 0.0.0.0 'below line 60'#bind 127.0.0.1'
- Set Password:About line 387 '# requirepass foobared' add' requirepass your password'
- Restart the Redis service, open the firewall port, and use the Redis connection tool to test
six️⃣Install the MongoDB database
| Project | Explanation |
|---|---|
| Recommended version | 4.2.23(4.4.17 Win Server 2012 R2 not supported) |
| Official Download | https://www.mongodb.com/try/download/community |
| iTdos image | https://static.itdos.com/soft/mongodb-win32-x86_64-2012plus-4.2.23-signed.msi |
 | |
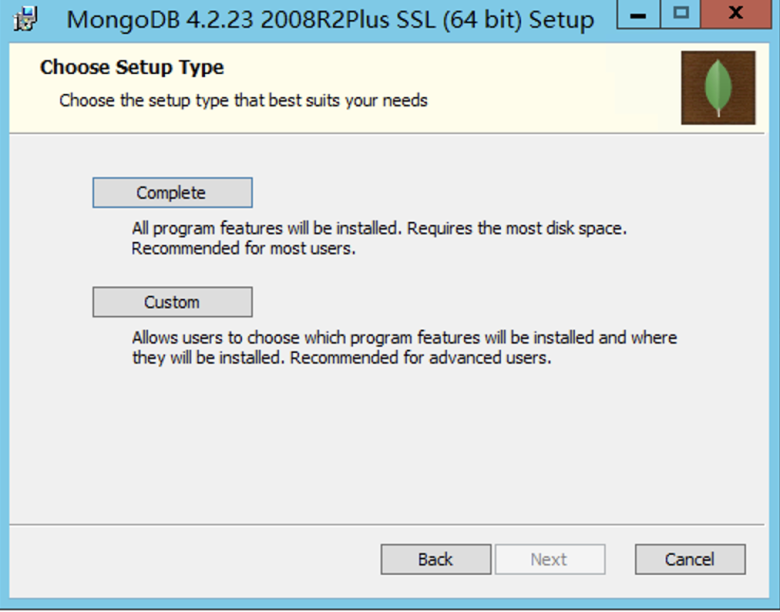 |
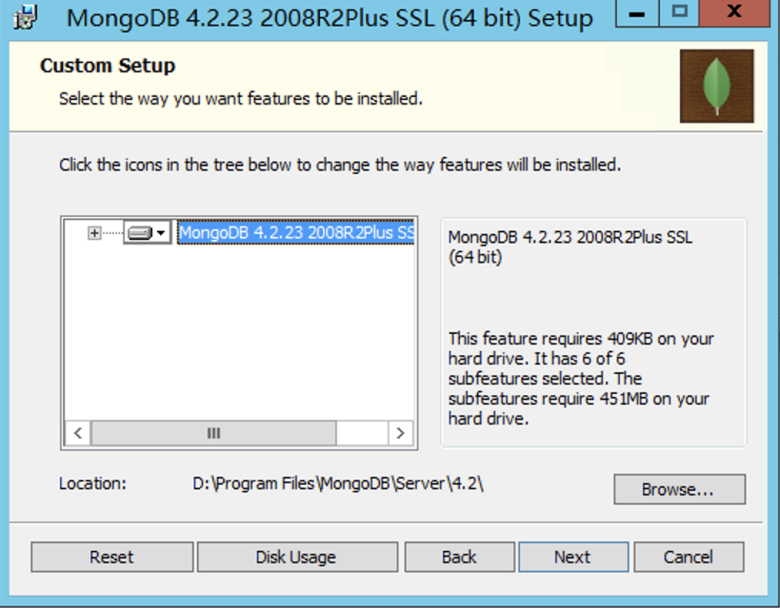
Select Custom:
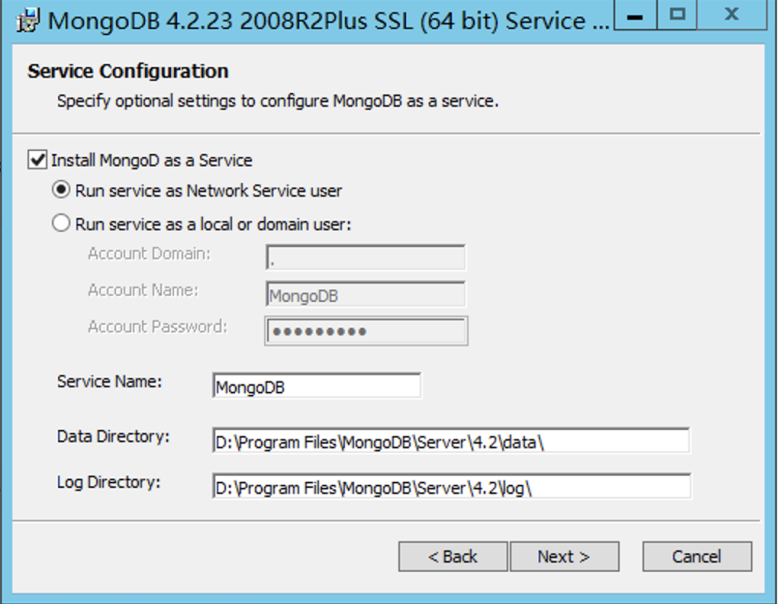
Use the default Run service as Network Service user:
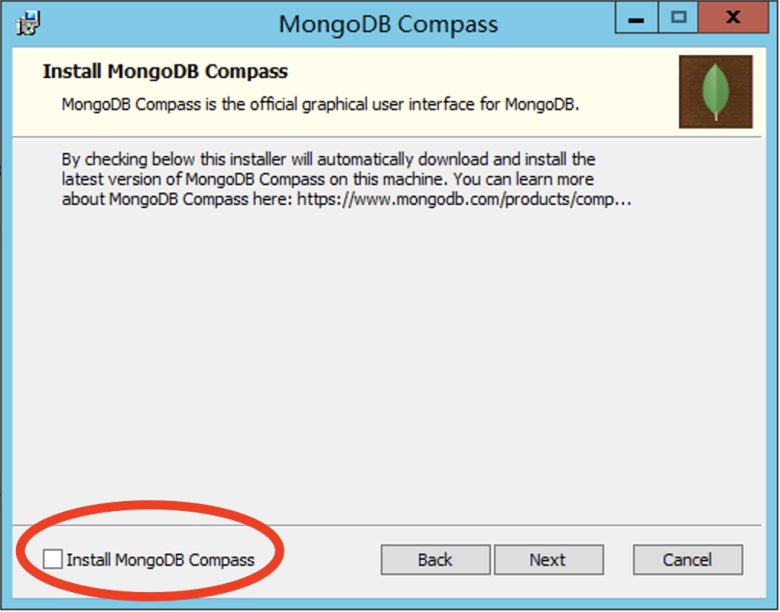
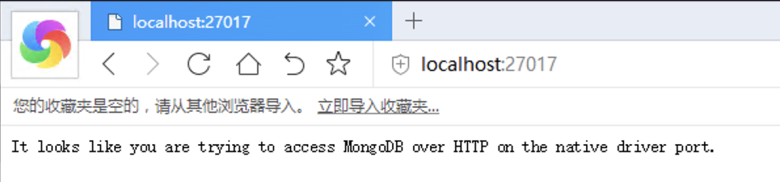
Remove the check box for Install MongoDB Compass. Access after installationlocalhost:27017The following interface appears to indicate a successful installation:
 Set account password:
Enter the MongoDB installation directorybindirectory to execute cmd:
mongo
use admin
db.createUser({user: 'root', pwd: '你的密码', roles: ['root']})
db.auth('root', '你的密码') # 返回 1 表示正确seven️⃣Install MinIO Distributed Storage
Official website Download: https://min.io/download#/windows (on an exe program) 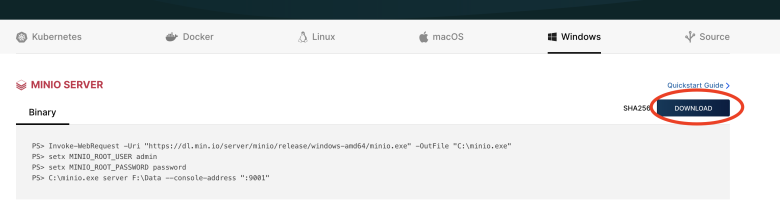
Deployment steps:
- To put
minio.exeinto a directory, suchD:\Microi\Minio\minio.exe - Download WinSW-net461.exe, put it in the same directory and rename it
minio-server.exe - Download the minio-server.xml configuration file and put it in the same directory.
- cmd entry
minio.exeDirectory, execute:
minio-server.exe install
minio-server.exe start
# 其它常用命令
minio-server.exe stop
sc delete minio-server.exeMinIO Configuration Description
Sys_OsClientsin itMinIOEndPointNeed to be configured:{IP}:9000- System Settings → Development Configuration
FileServerNeeds to be configured as:http://{IP}:9000/itdos-public
- Visit
localhost:9000, the default account number isminioadminCreate two buckets:itdos-public(the configuration permission is public),itdos-private
eight️⃣Install the IIS environment
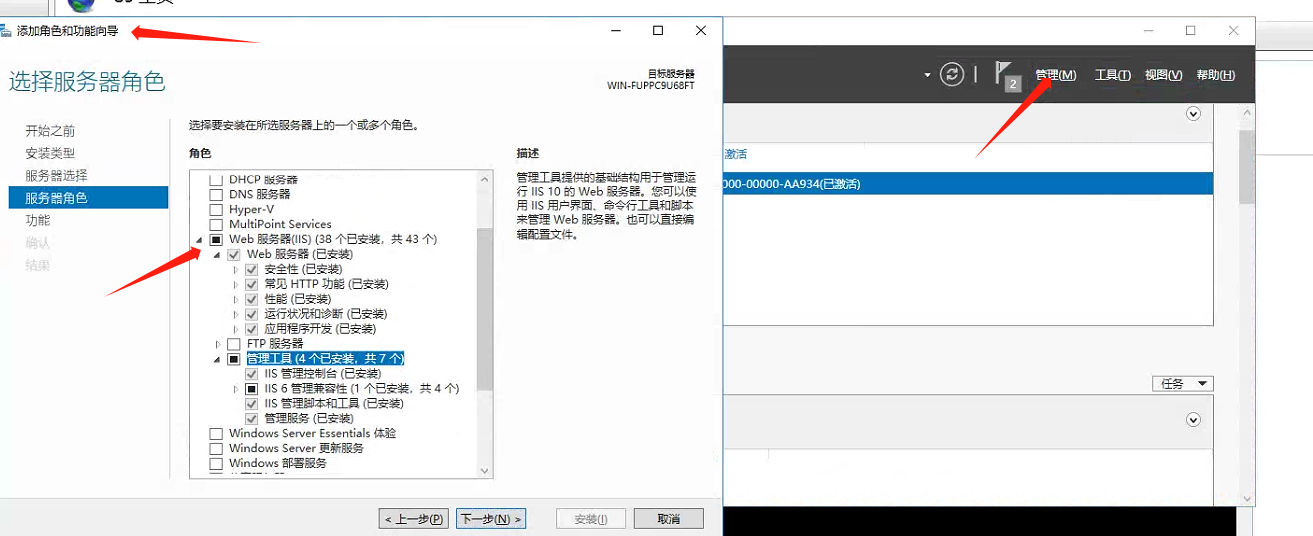
- Open the server management interface
- Manage → Add Roles and Functions → Server Roles → Check Web Server (IIS) Check All (except FTP Server Module)
- Default next step until installation succeeds
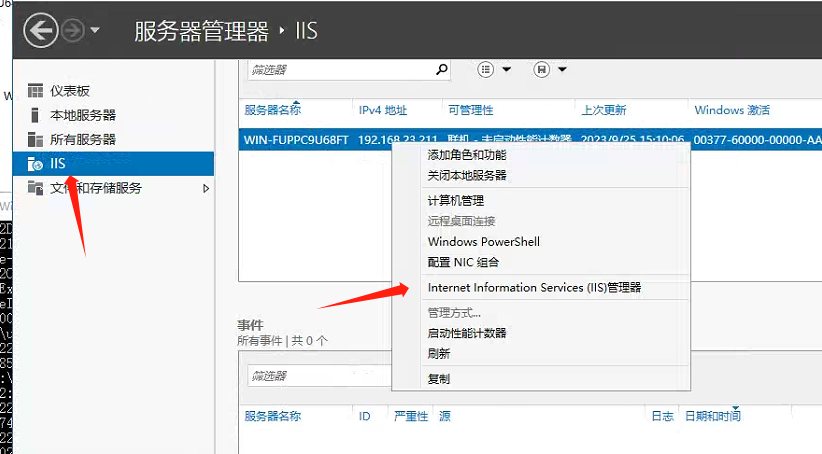
IIS management interface:
🚀Program deployment
📥Download and unzip the 2-piece program.
⚙️ Deploy microi-api backend interface system
Open the root directory
appsettings.json, modifyOsClient、OsClientType、OsClientNetwork、OsClientDbConnfour parameters
Run cmd or PowerShell in the same directory:
dotnet Microi.net.Auth.dll --urls=http://0.0.0.0:1051License Problem
If you are prompted to License the problem, the HID will be output in the error message, and the HID will be provided to the system administrator to obtain the commercial authorization certificate, which will be overwritten in the directory at the same level and then run again.
- Access after deployment:
localhost:1051 - The service system can be used as a Windows service:
sc create microi-api binPath="C:\Microi\Microi.net.Auth\net10.0\Microi.net.Api.exe"🌐Deployment microi-web front-end access system
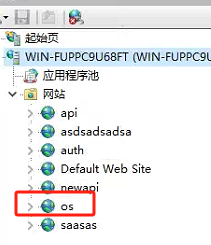
- Create a website directly in IIS and use any program pool without configuring environment variables.
- Modify the root directory
/index.htmlin itOsClient、ApiBaseVariable value
Attention
the figure is for reference only. please fill in the real client name and api address.
